The Ultimate Guide on How to Install Sliding Wardrobe Doors Like a Pro – Are you considering upgrading your wardrobe with sleek, space-saving sliding doors? Installing sliding wardrobe doors is a great way to enhance your room’s aesthetics while maximising storage efficiency. Whether you prefer mirrored, glass, or wooden finishes, proper installation ensures smooth functionality and durability. Follow this step-by-step guide to install sliding wardrobe doors with ease.
How To Install Sliding Wardrobe Doors Guide
Step 1: Prepare the Space – Before you begin, clear the area around the wardrobe. Remove furniture or obstacles that may interfere with the installation. Ensure the walls, floors, and ceiling are level to avoid misalignment issues later. If needed, use a spirit level to check for uneven surfaces and make necessary adjustments.
Step 2: Install an MDF Batten – To create a stable base for your sliding wardrobe doors, fix a 25mm MDF batten to the floor. This step helps in evenly distributing weight and ensures a smooth fit for the sliding mechanism. Secure it properly to avoid movement that can lead to door misalignment.
Step 3: Fix the Floor and Top Rails – Sliding doors operate on tracks, so precise rail installation is crucial. Begin by placing the bottom rail on the MDF batten, ensuring the front edges are aligned. Then, attach the top rail to the ceiling or top panel of the wardrobe. Use packers if necessary to maintain alignment, ensuring both tracks run parallel to each other.
Step 4: Secure the Wall Battens – If your wardrobe design includes side panels, install vertical battens on the walls to hold them in place. Check that the battens are upright and aligned before fixing them with screws or L-brackets. Properly secured panels add stability and improve the overall appearance of your wardrobe.
Step 5: Scribe and Adjust for a Perfect Fit – Use a scribing guide tool to make precise adjustments, ensuring a seamless fit against walls and flooring. This step is essential for wardrobes in older homes where walls and floors may not be perfectly level. Trim excess material if needed to achieve a professional look.
Step 6: Insert and Align the Sliding Doors – Carefully lift the rear sliding door and insert it into the top track first, followed by the bottom track. Ensure the rollers click into place before repeating the process for the front door. Adjust the doors using a screwdriver to ensure smooth gliding and proper alignment.
Step 7: Secure the Bottom Track and Final Adjustments – Once the doors are in place, double-check their alignment and movement. If the doors lean or don’t close properly, adjust the roller wheels on each door to level them. After making final adjustments, secure the bottom track in place with screws or adhesive.
Why Choose Sliding Doors for Your Wardrobe?
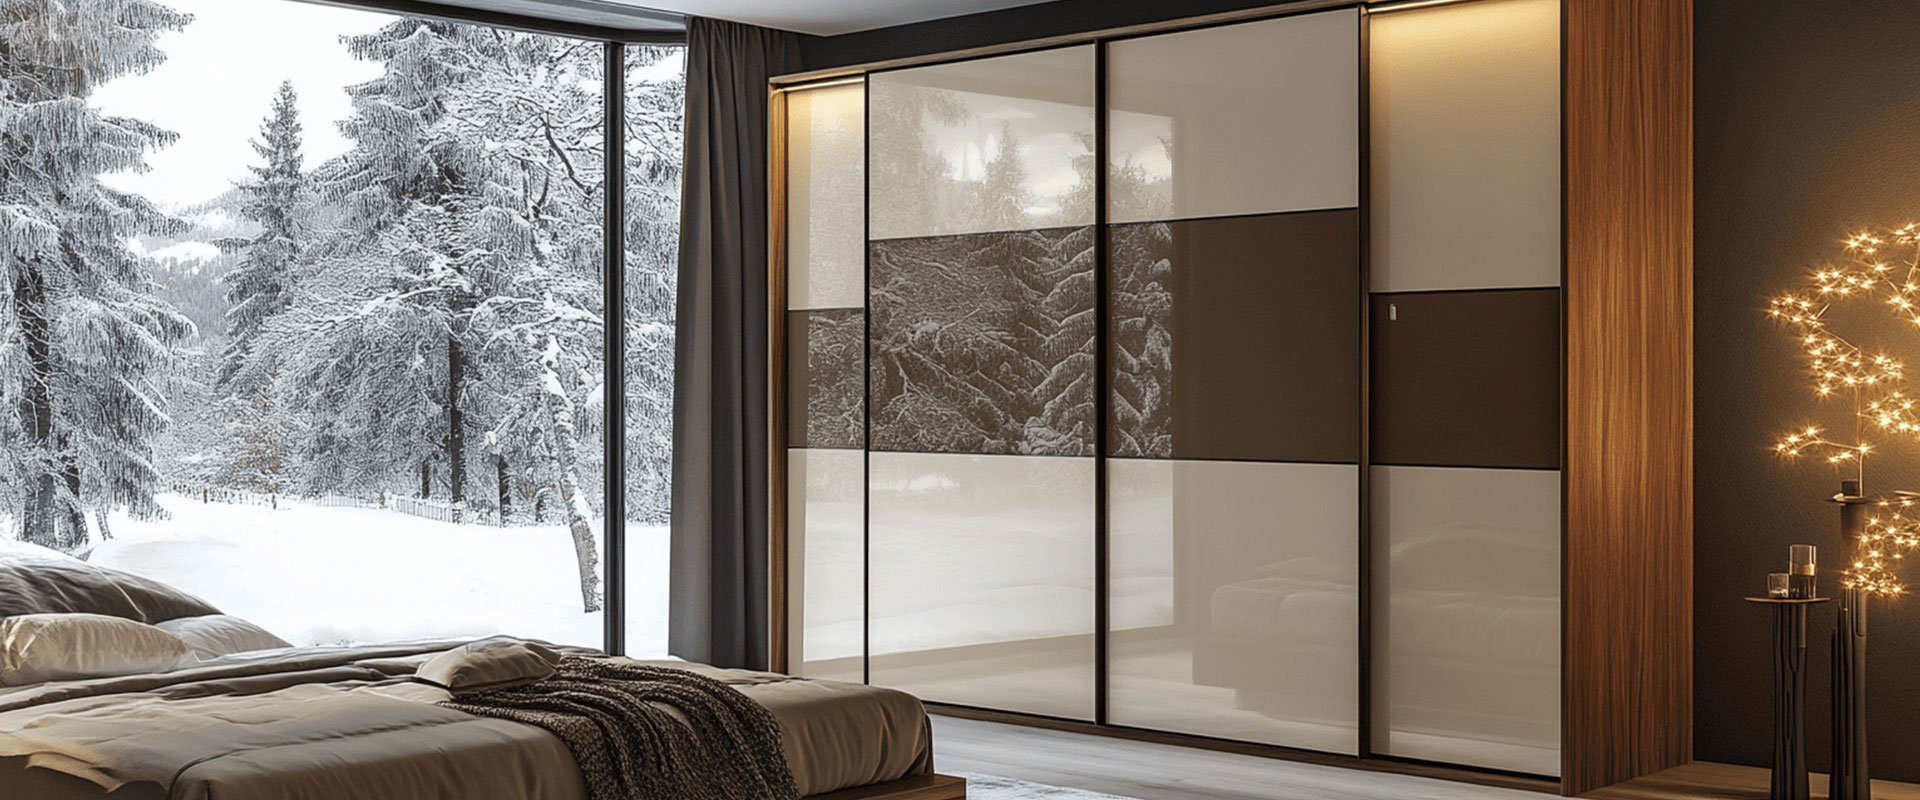
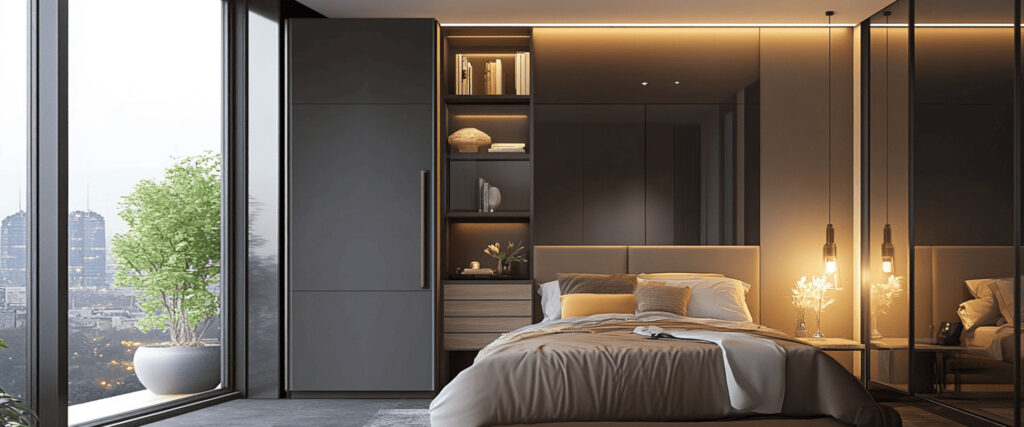
Sliding wardrobe doors offer numerous benefits over traditional hinged doors. They save space, enhance aesthetic appeal, and come in a variety of materials, including mirrored, glass, and wooden finishes. Additionally, sliding doors help create a clutter-free, modern look while providing easy access to your wardrobe contents.
Looking for a professional wardrobe installation? At TEL Kitchens, we are one of the leading wardrobe manufacturers and installers in London. Our professionals ensure high-end craftsmanship along with seamless installation services for all types of wardrobes. Contact us today.